
To heat seal Mylar bags, use a heat sealer that the pouch supplier recommends for the exact film. Confirm which end is open for filling, keep the seal area clean, and test a small set of filled samples before running the full batch. Start with the supplier’s settings for the offered pouch.
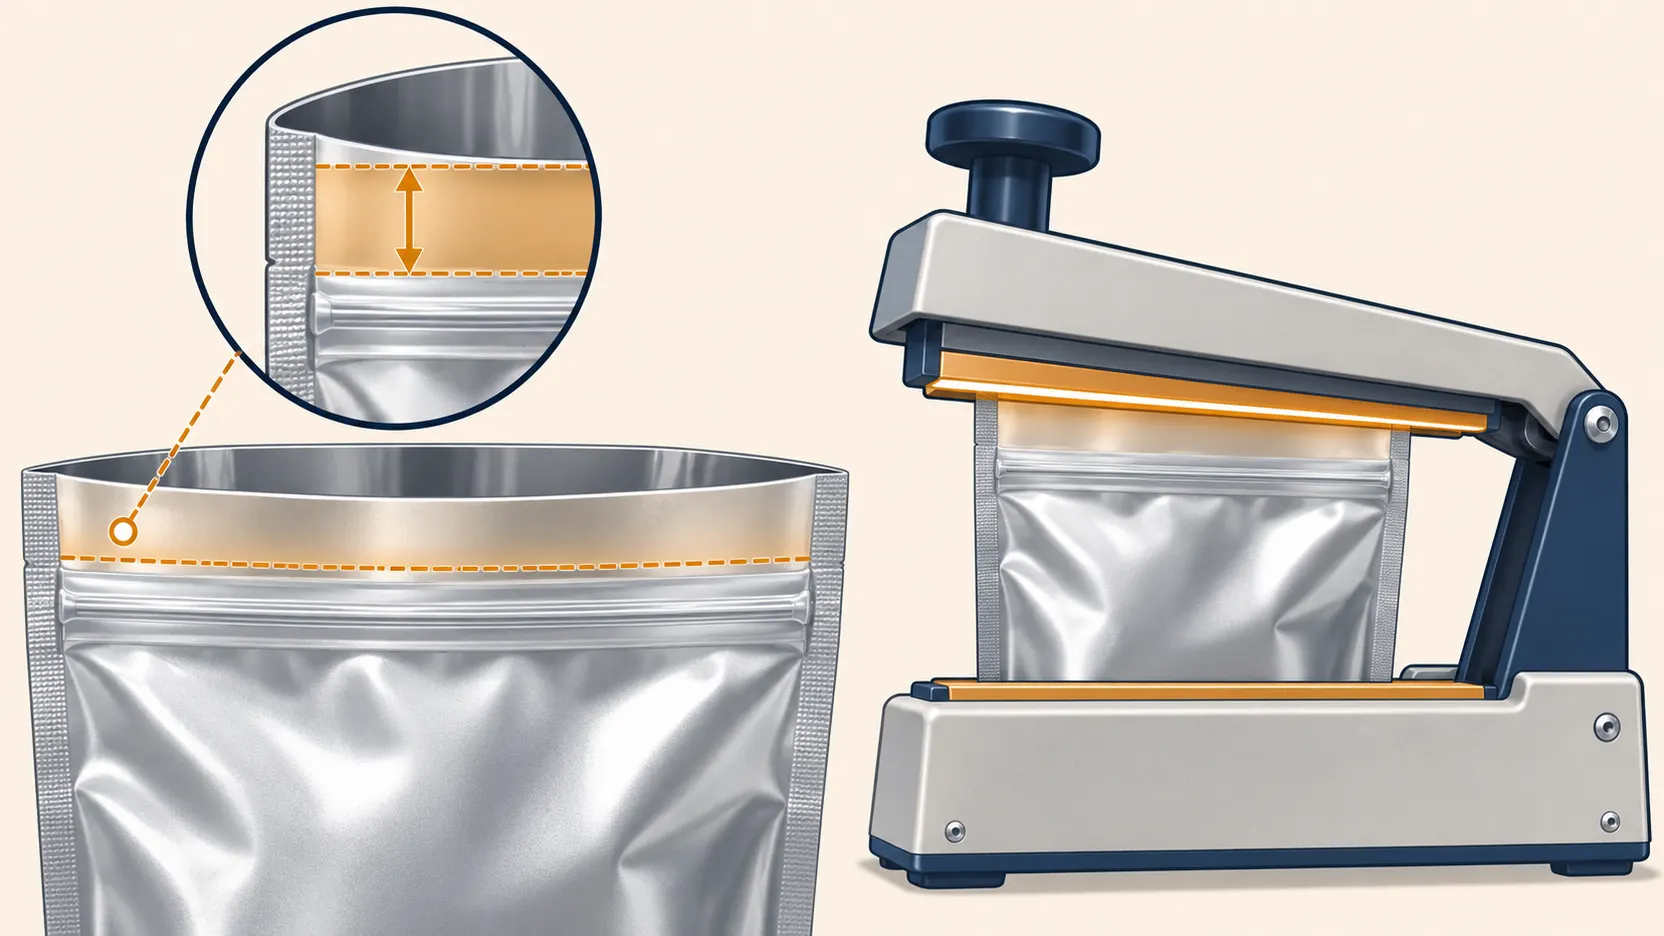
Find the opening that needs a seal
Look at the drawing or an empty sample. Many stand up pouches fill through the top, but some foil bags are supplied with an open end opposite the zipper. The zipper makes the bag easy to close again after opening. If the package also calls for a final heat seal, confirm exactly where that seal belongs before filling the first pouch.
If you are ordering from a picture, ask for the usable fill opening and a sketch showing the zipper, tear notch and intended seal area. This helps you check that the bag can be filled with your scoop or filling machine and that there is enough film for the jaws to grip.
Test the pouch on your own equipment
Use the actual contents and target fill weight. Keep crumbs, powder, oil and wrinkles out of the seal area. Ask the supplier which settings to start with and record the sealer model, settings and pouch reference. Let the sample cool before examining it.
Look for a continuous seal without folds, open channels or obvious burn marks. If the joint opens too easily or the film distorts, hold the batch and ask the supplier about the film, settings and jaw contact. Change one factor at a time when trying another sample so you can see what affected the result.
Decide what the check can tell you
A visual check can reveal a gap or wrinkle. To evaluate seal strength, barrier performance or suitability for a storage period, agree on a test method that matches your use. If a filled pouch changes shape during storage, record the product, fill weight, settings and conditions. Ask for help checking the seal before deciding what caused the change.
For a wholesale quote, provide the width, height, bottom fold, fill weight, sealer type and quantity per design. Ask for the film structure, sample terms and any evidence required for contact with your product. Keep the approved sample and setting record together so you can repeat the same checks on a new batch.
Set up a small trial before buying a full run
Ask for samples made from the film you expect to order. Run several with your usual fill weight and one at the upper end of your normal fill range. Record which pouch and machine settings you used. Compare the seals only after the samples cool. If powder reaches the seam in the fuller samples, adjust the filling setup and repeat the trial before deciding whether the pouch is suitable.
Use the symptom to decide what to check
If only one end of the seam looks open, check whether the pouch sat squarely in the jaws. If wrinkles cross the seam, check the fill level and flatten the intended seal area before trying again. If the film looks distorted, ask the film supplier to review the machine settings. A seal that looks smooth can still need further testing, so use the method agreed for your contents and storage conditions.
Keep the accepted pouch specification with the quote
Record the bag width, height, bottom fold and usable opening. Ask which film structure, zipper and artwork version the quoted price includes. If another supplier suggests a different material, request a separate sample and check it on the same machine with the same contents. This gives purchasing a comparable cost and gives production a reference for checking the first shipment.
Sources
IMPAK pouch configuration example, IMPAK stand up pouch specifications.